Showing posts with label sculpting. Show all posts

7.1.14

Anatomy and loads of latin words


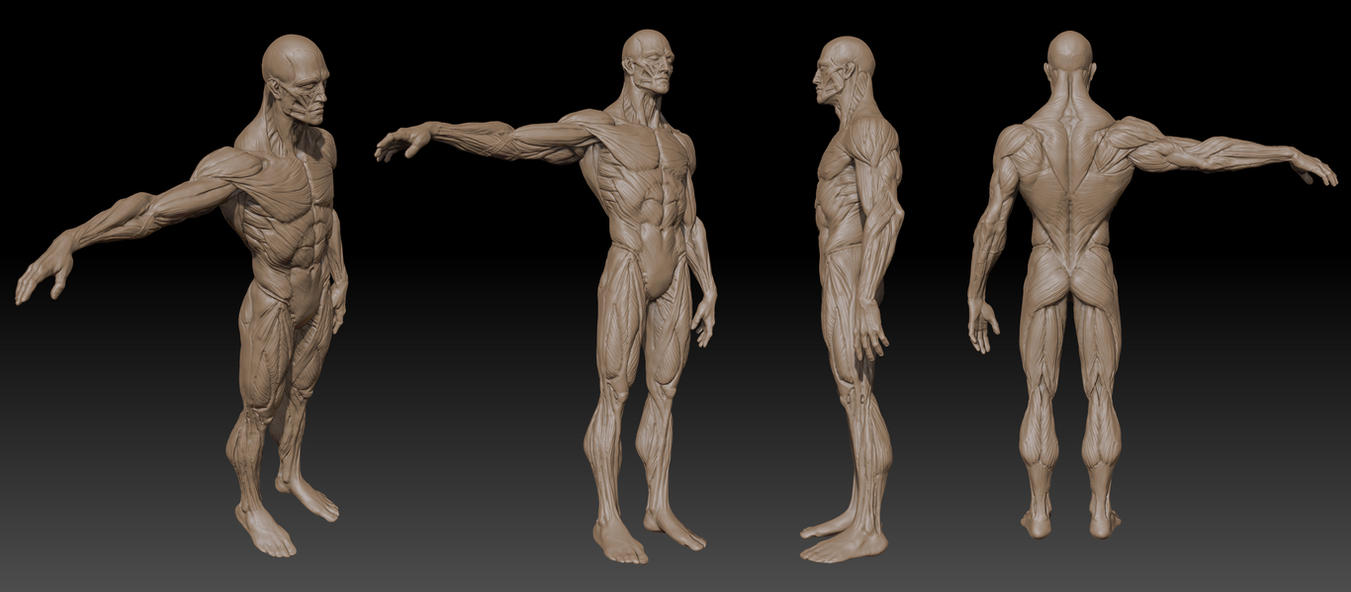
Something that was mentioned more than once by different artist during their sculpting tutorials was the importance of anatomy and the complete understanding of it. 
Loads of names of muscles and bones where mentioned and once they realised that the audience might not have a clue of what they're on about, they would point out the amount of anatomical studies they've done just to get to the point of making something in good proportions. Regardless of whether is or not a realistic approach people target on their sculpting, a good anatomy is the key for a believable human model. This clearly leaves out the creation of anything alien or beast-like but even then, the understanding of it can help you create something imaginary and yet make it look logical and believable.

There are loads of sculptures through out time that have made majestic pieces of art, and that have made incredible studies of anatomy just to achieve their a certain piece of sculpture.
It was Gian Lorenzo Bernini's work that inspired me the most when it came to anatomy, because he not only had perfection on his anatomy, but he also expressed dynamism and over all, the feeling of human flesh. 


When I looked at tutorials about anatomy they seemed long and complicated, therefore it added to the amount of stuff I need to study. So far I've done my best to look at tutorials, and even managed to get a hand on a very handy book that is used by the NHS to train their staff; it's the Anatomy colouring book. Despite the fact that I thought that it sounded childish, it turned out to be a quite handy way to learn this process and by doing so it kind of has a similarity of when you're sculpting with the digital tablet. 
Either way my latin still a bit rusty and remembering names is not one of my strengths, so hopefully in time I'll be able to if not master, at least feel familiar with them and roughly know where they are.  

7.11.13

Clay modelling and workshops

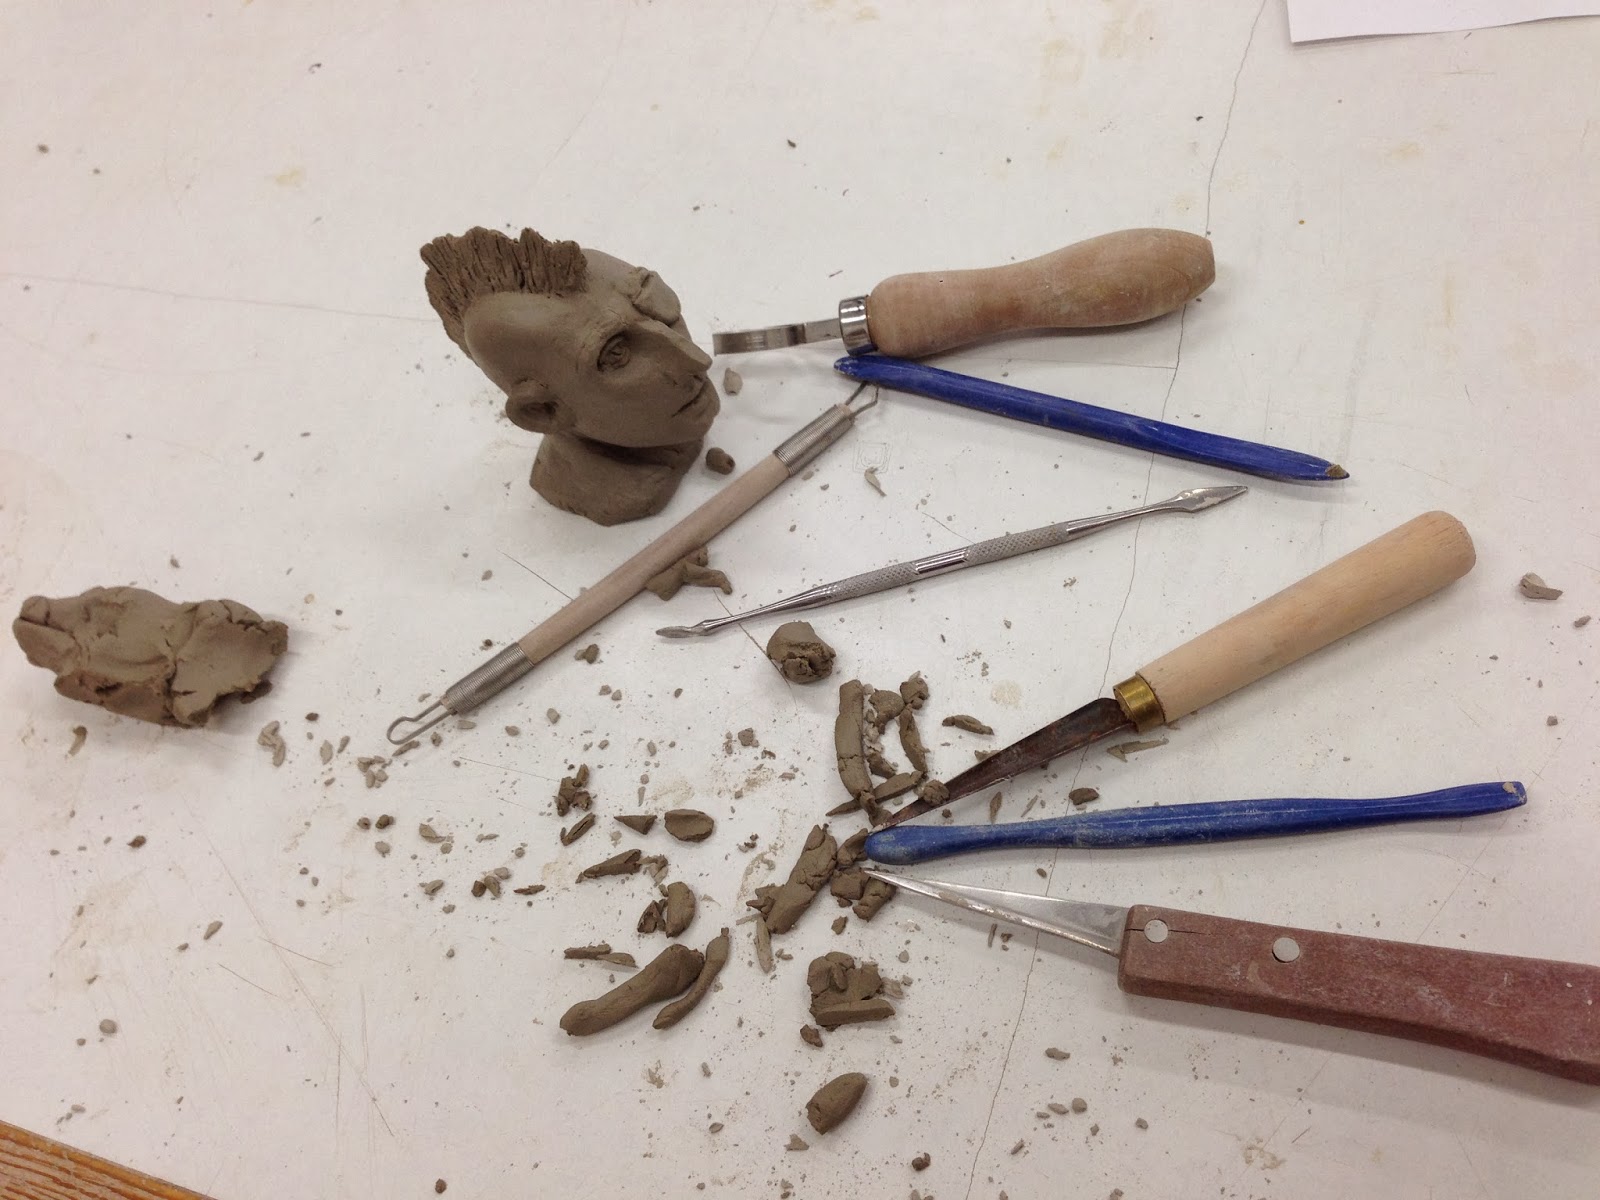
After discussing with my tutors about my 3D sculpting topic, they suggested me to give it a go and try real sculpting so...why not!? 

I went down to the ceramic workshops a few times to get inducted on health & safety, tools and materials that I have access to. Despite the looks of other people studying fine art when I said I came from Games and Animation, I got quite a lot of good feedback and tips from both professors and other people using the facilities. 
On the fist quick attempt I literally just played for a bit trying to quickly get a face out and try different tools at the same time as I got familiar with the white clay. It didn't turned out well; the clay was far too dry towards the end, the size was too small to get any details in and I couldn't get symmetry in the eyes, but at least I knew what I needed to fix next time.


For my second attempt I went for something a lot larger just to manage to get details in. By this point I already watched some tutorials about the anatomy of the face, and even though I haven't mastered it yet it gave me a good idea of where to start. 
I used a base this time that was attached to another rotating base making it a lot easier to work with. I also used brushes and water to keep the clay to a good level of moisture. I brought with me a copy of the concept to help me get the right stylised proportions, although at the end I thing the width of the face was a bit thinner than it should. 
The hair was definitely something that it's hard to model and still get the filling of it being thin and floaty, so at least I know that for the 3D version I will make it with planes instead of model it on Zbrush. 
At the end I did my best to get a smooth skin. The eyes weren't necessarily symmetrical and I don't even know how to describe how awful the ears where, but for my second attempt I was quite pleased with it. 
To wrap it up, because I didn't follow any professional sculpting technique of making it hollow, I had no chance to fire it, so I opted for the option of applying a coat of PVA to give it a glossy look and help to preserve it as much as possible. 
I still haven't come up with a name for the character, but either way I'm happy to have tried this and get a grip on how some sculpting before jumping to the digital one.