Showing posts with label pixel art. Show all posts
15.5.14
Submission product - Beta version
Like I mentioned on my previous post, the game is technically finished, the only things I'll be fixing after is probably touching up some sprites and animations, dialogue timing, music enhancement and camera angles. For the submission, I believe I've reached the requirements, which were a playable level with pixel art.
At this point I'm quite pleased with the quality and with the proficiency on which I feel I can use the engine now. Never the less, I am aware that there's a LOT of room for improvement, and certainly will carry on polishing it for the final year show and the Game Republics student showcase in Huddersfield.
If you want to have a go at it, here's the link to the online file:
[if there's any obvious problems please refresh the browser. If it doesn't fix the problem, let me know. Also it was designed and mainly tested on Google Chrome, but as far as I'm aware, it should work on Firefox and Safari] (give my level some dignity and don't use Internet Explorer...please...)
Because I realised that not many people might wan't to have a go at it or probably they get lost ... or just want to cross your arms, lay back, watch and judge my work then here's a screen recording of me playing the game (me knowing what to do). There are conversations with the characters outside the main main storyline, just in case people get lost, and also to give a bit of inside to the story and the characters.
Any feedback would be more than appreciated it, as I still have the end of year show and the Game Republic Student Showcase.
Labels:
clover lawn,
concept,
Game,
OUDF603,
pixel art,
Sanctuary,
Video Game
26.3.14
Sanctuary - test 2
So I finally came around to make a second test to show for a presentation.
This still keeps the original layout as there's no point to expand the level while testing (the smaller, the faster to test). I also haven't tried some of the sprites, mainly because I've been busy trying to sort out the gameplay itself. Probably in that respect it will be hard to notice the huge amount of improvements compared to the first test.
Click HERE to try the second test version.
Things might be confusing at this point still, but the idea is to talk to both of the NPCs to be able to access the room inside the tree. The final text will be slower and the dialogue will give hints to what the player should do.
But leaving the story aside (that will be arranged in time) the mayor advances in this version would be:
- Global constants working along with the phasing of the story.
- Camera movement moves responding to the character's movement (still needs tweaking).
- Zoom in and out depending on players movement.
- Die and re-spam if falling of the 'level'
- Inside tree layout.
- Dialogue appearance.
- Initial Xbox controller compatibility (yes, you can play it with a controller or keyboard)
There are still far too many problems that need fixing, to list a few:
-Fix camera movement
-Incorporate initial and final cinematic events (need to figure out how to do that :-/ )
-Avoid dialogue boxes to overlap
-Fix characters sprite movement (specially with the xbox controller)
-Set a menu screen
-by miracle... hope to figure out how to control text speed and appearance by pressing keys, instead of having it timed.
There are still loads and loads of things that need fixing, but it's certainly time to speed up with the sprites; any future testing might seem with less improvements as I'll have to balance more between the 'coding' and assets' creation.
Any feedback would be appreciated.
This still keeps the original layout as there's no point to expand the level while testing (the smaller, the faster to test). I also haven't tried some of the sprites, mainly because I've been busy trying to sort out the gameplay itself. Probably in that respect it will be hard to notice the huge amount of improvements compared to the first test.
Click HERE to try the second test version.
Keyboard Controls :
A - left
D - right
Spacebar- Jump
S- jump down
W - talk/open door/pick up stuff/climb (interact is a better word)
Things might be confusing at this point still, but the idea is to talk to both of the NPCs to be able to access the room inside the tree. The final text will be slower and the dialogue will give hints to what the player should do.
But leaving the story aside (that will be arranged in time) the mayor advances in this version would be:
- Global constants working along with the phasing of the story.
- Camera movement moves responding to the character's movement (still needs tweaking).
- Zoom in and out depending on players movement.
- Die and re-spam if falling of the 'level'
- Inside tree layout.
- Dialogue appearance.
- Initial Xbox controller compatibility (yes, you can play it with a controller or keyboard)
There are still far too many problems that need fixing, to list a few:
-Fix camera movement
-Incorporate initial and final cinematic events (need to figure out how to do that :-/ )
-Avoid dialogue boxes to overlap
-Fix characters sprite movement (specially with the xbox controller)
-Set a menu screen
-by miracle... hope to figure out how to control text speed and appearance by pressing keys, instead of having it timed.
There are still loads and loads of things that need fixing, but it's certainly time to speed up with the sprites; any future testing might seem with less improvements as I'll have to balance more between the 'coding' and assets' creation.
Any feedback would be appreciated.
Labels:
clover lawn,
Construct 2,
OUDF603,
pixel art,
Sanctuary,
sprite,
Video Game
Some pixel art process
In my previous post I mentioned a blog that had a compilation of some 'rules' with regards the creation of pixel art.
The type of pixel sprites that I'll be doing for the game are relatively big, and the level of detail is high in comparison to initial pixel art where characters could have a 24x24 sprite (like the old megaman games) to a more detailed 150 pixel sprite.
I've documented the initial part of the process of the creation of the sprites of one of the elements that I like the most: the fountain of the Harpy.
The idea started as a sketch where I added some watercolour, but this was just to give me an idea (and play with watercolours for a bit). I scanned it and modify the background, mainly just to make it easy to work with.
Then I made it semi transparent and using the pencil tool and preferences that will help me to keep hard edges in case of any movement or modification. I start with a very loose line, mainly just following the contour, as if I was to redo the line work.
After all that is finished then I can turn off the reference and go into detail to fix the line. The image below is the outcome of a quick line.
The image below is the how it looks after cleaning up, the idea is to avoid having any overlapping pixels. This will give an effect from further as a clean curvy line. This could be one of the processes that take the longer as is a matter of individually erasing and painting pixels all over the line. At the same time, you need to be zooming in and out to make sure the line is taking the shape desired, as is very easy to get it to look wonky...and in fact sometimes is just hard to correct and can only be corrected once the rest of the solid colour is along.
This is the difference between the quick first line and the final clean up. This 'rule' wont apply everywhere as the hand that's suppose to be closer I decided to make its line thicker mainly to use a comic like technique of line weight.
After that I started blocking out colour and shadows, which roughly follows the idea of cellshading with hard edges on the change of each colour/ shadow, this is mainly to give a sharp contrast and help the perception of the shape. In this case the statue is some sort of plaster material with its own shadows, while it will be cover with mould due to the dampness. Eventually I'll add the water falling down. This process is not finished as the shading requires just as much work as the line work. Also the main line will have colour and will nicely blend along with the rest of the colours. This kind of big landmarks on the level need to be very detailed, in comparison to the rest of the props, so I'll keep posting some of the further finished props as I go.
Labels:
clover lawn,
concept art,
OUDF603,
Pixel,
pixel art,
Sanctuary,
sprite,
Video Game
Pixel art rules - the art of pixel art
Pixel art has always been my adoration; I find it hard to explain, but I think it must be a mix of nostalgia of playing games on Gameboy or Super nintendo and thinking every new game was a master piece. But I also believe that it can be very artistic to manage to represent something correctly having a graphic limitation.
Pixel art certainly had it's beginnings thanks to the limited hardware and display options, the lighter the graphic the easy it is to process in real time. Now a days is hard to see other than portable games or indie developers trying to go down the route of using pixel art as there is practically no need for it. The nintendo 3DS for example, has the capability to render with far better quality than the nintendo 64 could back in its day.
My decision to make my game level 'Sanctuary' using pixel art was merely a personal preference to be able to demonstrate another kind of artwork, get out of my comfort zone and at the same time please my inner child.
Once I got into it, I noticed a massive community online and a huge range of people that focus their work only to pixel art. With this saying, I not only found endless numbers of tutorials, but also a great number of 'rules' that pixel art has; is not as easy as it looks.
Because you have to limit the amount of details (depending on the size of the sprite/character in hand) linework or shading can't just be done with brush strokes, but instead, it has to be carefully placed. It's surprising how easy it is to spot a single pixel out of place, even when is a big pixel art work.
Where a piece of work goes from pixel art to just a low resolution of something bigger, that I don't know, but after my first attempts to make some examples, I think I gained two things: the admirations for everyone who decides to only work on pixel art and the fear that this project might take longer than expected to finish the way I wanted.
Because the rules of pixel art are not 'official', I wont go through them, but I did found this forum, part of the Pixel Joint online community that I found immensely useful, in case anyone wants to give it a go.
There are a lot of examples of games out there that I could mention and elevate to the state of divinity, such as Megaman Zero, Metal Slug, Pokemon, Final Fantasy Tactics Advance, Sword & Sorcery among many many more.
Instead I think I'll mention some artist that I really admire for their unique style and that have been a huge influence while making my own work.
- Syosa:
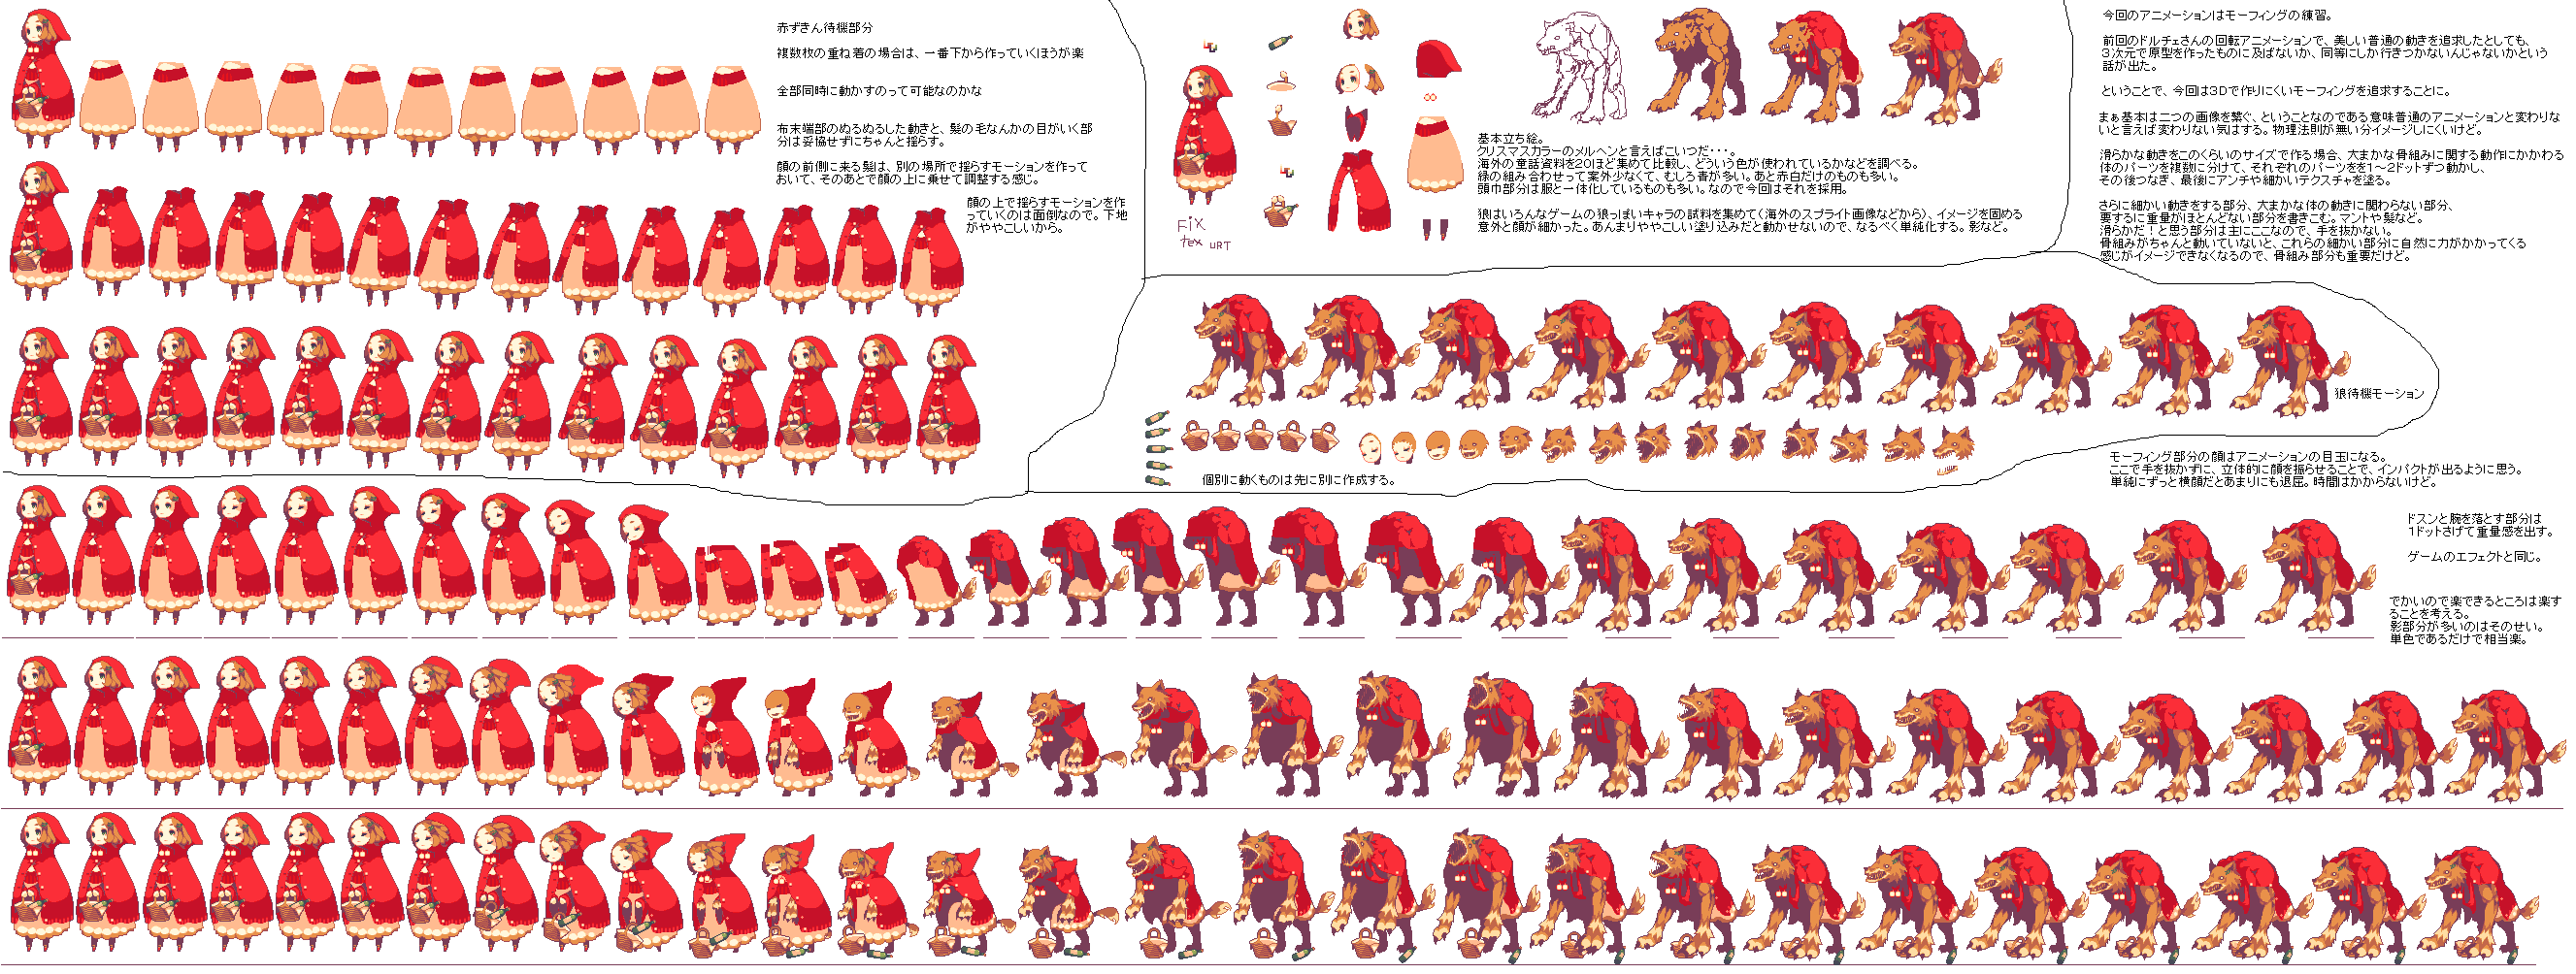
This artist is like a god to me at the moment. (notice that I'm using some of his work for testing the engine)
Not only his/her pixel art is amazing, but the style and animation is just beautiful and fluid. On his website (only Japanese) he posts and explains a lot of his process which turned out to be really helpful.
Pixel art certainly had it's beginnings thanks to the limited hardware and display options, the lighter the graphic the easy it is to process in real time. Now a days is hard to see other than portable games or indie developers trying to go down the route of using pixel art as there is practically no need for it. The nintendo 3DS for example, has the capability to render with far better quality than the nintendo 64 could back in its day.
My decision to make my game level 'Sanctuary' using pixel art was merely a personal preference to be able to demonstrate another kind of artwork, get out of my comfort zone and at the same time please my inner child.
Once I got into it, I noticed a massive community online and a huge range of people that focus their work only to pixel art. With this saying, I not only found endless numbers of tutorials, but also a great number of 'rules' that pixel art has; is not as easy as it looks.
Because you have to limit the amount of details (depending on the size of the sprite/character in hand) linework or shading can't just be done with brush strokes, but instead, it has to be carefully placed. It's surprising how easy it is to spot a single pixel out of place, even when is a big pixel art work.
Where a piece of work goes from pixel art to just a low resolution of something bigger, that I don't know, but after my first attempts to make some examples, I think I gained two things: the admirations for everyone who decides to only work on pixel art and the fear that this project might take longer than expected to finish the way I wanted.
Because the rules of pixel art are not 'official', I wont go through them, but I did found this forum, part of the Pixel Joint online community that I found immensely useful, in case anyone wants to give it a go.
There are a lot of examples of games out there that I could mention and elevate to the state of divinity, such as Megaman Zero, Metal Slug, Pokemon, Final Fantasy Tactics Advance, Sword & Sorcery among many many more.
Instead I think I'll mention some artist that I really admire for their unique style and that have been a huge influence while making my own work.
- Syosa:
This artist is like a god to me at the moment. (notice that I'm using some of his work for testing the engine)
Not only his/her pixel art is amazing, but the style and animation is just beautiful and fluid. On his website (only Japanese) he posts and explains a lot of his process which turned out to be really helpful.
-Cocefi:
His/her work is just adorable and with a very lively animation. Isometric views are his speciality, and love the way he makes little diorama-like images full of detail.
- Johanvinet:
His work is fast, dynamic and very consistent. He is a very active person in different communities and post work all the time.
19.3.14
Colour test: pallet
I limited myself to a pallet of about 38 colours. I was originally just use no limitation, but then I thought that might be a challenge when it comes to the colouring of each frame of animation. Plus this way it looks a lot cleaner.
On the image below I have the pallet along with the 100% sprite size, a 500% version and a comparison with the concept art. Since the final artwork will look roughly the same size as the 500% one, I'm pretty happy that with the results (got scared when I saw the 100% result).
Next step before polishing the sprite is to test it on the engine. Hopefully I'll start working on other props or NPC's to try them for the next demo.
Tips for anyone that wants to try to do pixel art on photoshop: turn off any anti-alias and change preferences of interpolation (Edit/preferences/general) from bicubic/bilinear to nearest neighbour. This will help to get the pixel finish without photoshop trying to blend colours in between.
Subscribe to:
Posts (Atom)