Showing posts with label UV mapping. Show all posts

28.12.13

UV layout

When it came to the part of UV mapping I did the simple shapes like the eye easily in maya; the inside of the mouth was more difficult, but also managed to do it.
It was when I did some attempts of unwrapping the face where I realised that I needed help form a different software.
In the multiple tutorials I looked at, some people mentioned UVLayout as a good tool for unwrapping, so I decided to give it a go. Just like in Zbrush, the interface was pretty unique but luckily for me, a simple 10 min tutorials gave me the basics to start exploring on my own.
Once you get the hang of how to select edges, create seams and flat the UV projections everything else becomes quite intuitive.
One of the main features I really liked about it, is that it not only give you an indication with pattern textures of where the stretching or squashing is happening, but it also gives you an indication colour based where green is good, red is overly stretched and blue is squashed. This becomes really handy for when you want to fix thing manually as you can tell where to move the UVs and if your movement has affected another texture face.
Probably with a bit more of practice I can manage to get the hang of it more efficiently, but for this matter I'm quite happy with the results and highly recommend people to use it :)


6.12.12

Wind Waker textures analisis

When I was doing some research about making a cartoon style I came across with this thread on a Polycount forum where a user took a good time to "open" the game The Legend of Zelda: the Wind Waker and made a really good break down and analysis of them.


What caught my attention initially was just to see how professionals do textures but then it expanded to more helpful stuff of how to make scenes more efficient by adding baked shadows to the textures for scenes with no changes in the illumination and also something really iconic in the game where the particles.


There are also some libraries of assets that I found. All of them are cartoon style but it's surprising how iconic and similar the explosions look to this saga. 
You can check the rest of the post for more information. It breaks down a lot of secrets that where used to make this game a total jewel. 

5.12.12

Colours of a robot

UV mapping Albus was more than a challenge, it was just time consuming. having all the little pieces separated made it easier, but still it took longer than what I expected. 
Most parts went out smoothly, but having to model the environment and UV map it at the same time made me not to be able to texture Albus until really late stages of the project. 
Also it was really hart to think of a colour that would suit him, and me being not so good with colour theory I ended up opting for a "typical" bronze scheme. 

Here's some of the progress images of Albuss texture: 

1.- just the UV map capture. 
 2.- The textures finally painted...took me ages to do it and I also put a small clover as a signature :)
3.- This is just an example image of the final render of Albus. Looking great and so happy :) 

This is just an idea that I thought could work (if we had more time). I wanted to make an occlusion render pass to the textures that would add a nice feeling to the textures, and probably help to give us a cartoon style with a bit of more complexity, but unfortunately this was just an attempt  the process was becoming a bit more complicated that what I expected, and it had to be done to every single object in the scene, so probably the rendering time would have double and the time for the deadline was just upon us. 


15.10.12

Creation of an Alien

So getting back into Maya, our exercises now is to model, UV map, rig and animate an alien based on a reference t pose that we all got.
We also got some pictures that gave us an idea of how a good topology should look like for this model (mainly because there's not one definite solution).

I think the hardest part for me is to actually begin. After losing the fear of making mistakes I pretty much modelled the half of the character without too much trouble.
There where a few places where I had to go over and over. I was trying my best to get my head around the junctions like elbows and knees where animating could become a problem if it wasn't done properly.
I suppose this is what scares me the most: Having done a lot of work just to find out that I've done something wrong and having to go back and redo it. More than laziness I believe is something irrational about insecurities. I hope I can get over that in the future, but at on the bright side, I think I'm paying more attention to many details as I go along and learning to spot mistakes in earlier stages. (I have to the take out the positive of EVERYTHING) 


After that I just mirrored the geometry (fix some minor issues with the crotch) and VoilĂ ! we got a decent looking alien. It looks much better on the smooth version, but as long as it works along with the rigging the I'm happy about it.

After that and creating the bit of the inside of the mouth, I then moved to UV map it. Because of the Russian dolls project I feel a bit more familiar with UV mapping and I didn't struggle much other than splitting the head while maintaining the ratio of the eyes (for as bad as that sounds). 
It isn't mandatory to give it a texture in specific, as all that matters is to have a rigged and fully animated character by the end of this exercise, but I might give it a go just for the sake of it.


1.5.12

Some progress III

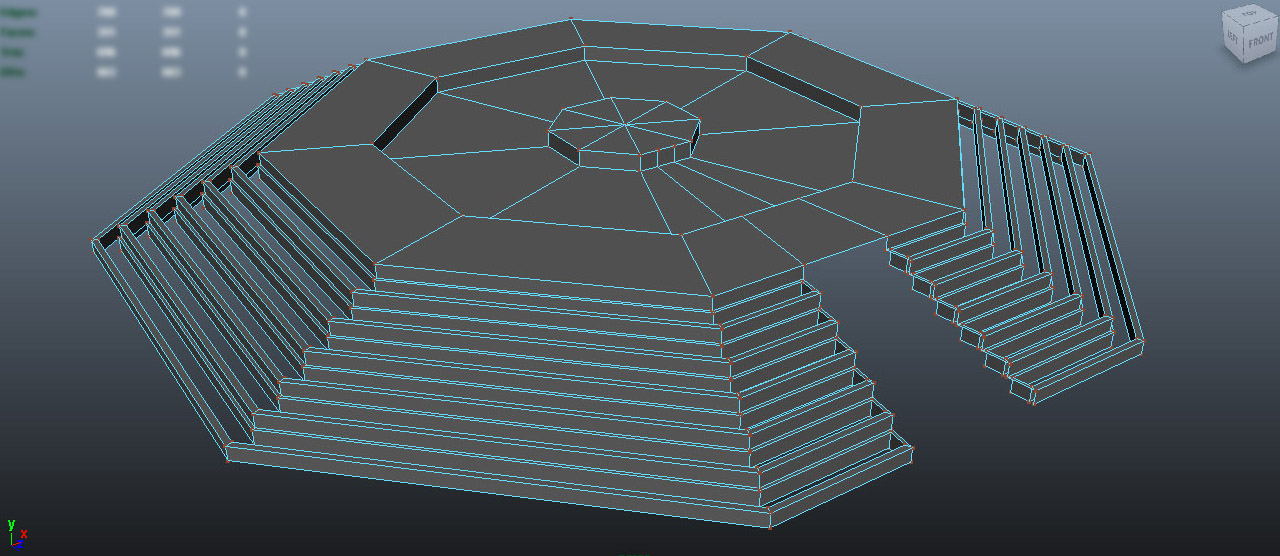
The sacrifice altar wasn't difficult to model at all. Having a basic structure and thanks to some good planning I manage to do it in no time.... ....
ok, that was a lie. 
I did struggled at the point where I had to do the diagonal stairs. Because of my intentions of trying to make everything look huge I had to do the staircase relatively close to a normal stair size, meaning that I had to LOADS of stairs and that diagonal shape on the ends did not help to make it any easier.

the fun part for it was also the UV mapping, because, as usual, didn't put it in consideration when building it so, after detaching a few pieces I manage to come up with something easy to work with. 

For the snake pillars I struggled less since I had a better plan for it. Using some references I place some planes that made my modelling more precise. 

 So now pretty much the main structure is there.
Because some work what I've been doing with some flowers (I'll post about that later) I decided to all the textures by myself, so wish me good luck texturing all this.

30.4.12

Some progress II

After loads of attempts of trying to get Mudbox running on my laptop and nothing good, I decided to give it a try to Zbrush. My plan was to make the stalactites and stalagmites in high poly and then capture the details on a normal map. The product was quite good looking, but I think I spent so much time trying to get this level just for one piece and thinking of the amount of pieces that I needed to make it look decent. 


At the end, and after spending so much time looking at tutorial after tutorial, I decided to just edit one big mesh and make it look as good as possible with a tileable texture. much more easier as Zbrush does the complicated UV mapping for you and it's really easy to export back to Maya once you set it up. After running a decimation to avoid killing Maya on the attempt to export an object with over 1 billion polygons, I got quite surprise that it changed from quads to triangles... never worked with them and my previous 3D professors where completely against working with them. 
Didn't care...
So manage to get the normals working and to get it all fit and scale with the rest of the scene. So far is the object that's spending most of my poly-budget, but hopefully will be worth it. 
I still want to play more with Zbrush, since it's a really different software, that quite took me a while to get my head around, but seems like one of those in which I can see myself getting lost for hours just trying and trying all the tools. 
After duplicating the half of the cenote (cave) on which I worked on, and merging them together I saved and closed Maya, but is until now that I noticed that by doing that I completely destroyed the UV map and it was turned into a square, so now I either work with an automatic UV proyection or start working on a uv mapping of an object that has over 67,000 polys and loads and loads of organic bumps. God save my soul if I chose the second option. (which I probably will) 

16.4.12

Some progress I

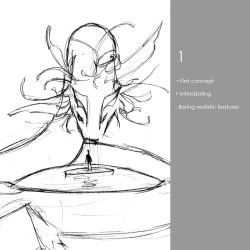
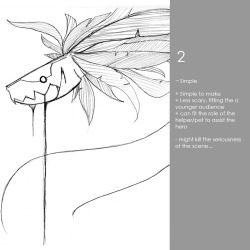
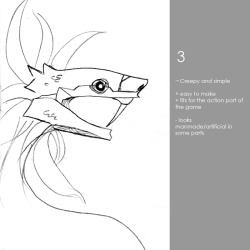
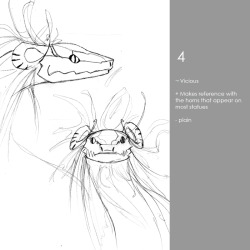
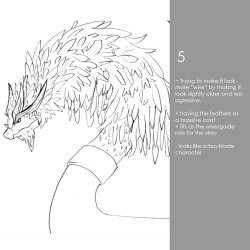
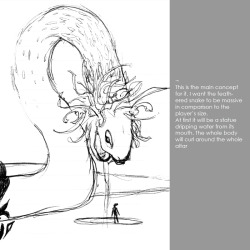
After a long time of thinking what would fit better for my environment and making sketch after sketch about some of the more important aspects (aka the snake) I decided to go for the public opinion to help me decide on which concept to go for. I posted some polls on facebook and tumblr just to get a general idea of which design is more "liked". 
At the end most people liked number 4, but more than heading me towards choosing one, I got some really good feedback. 
I manage to start modelling it from scratch and tried starting with different primitives (cylinders and cubes mainly) and ended up working with only half of a cylinder and mirroring it at the end. I'm still going to work on it. Add some more details and the feathers, but mainly I wanted to get this as a "low poly" model and work on zbrush (for some reason just can't install mudbox) and work on a high poly model to get some normal and detail maps for the low poly model. 
Doing the UV map for it was quite complicated specially for the head part, but I think that I manage to get something decent at the end. It is quite complicated to model organic stuff, but hopefully I get better at this soon.