I started re-sculpting pretty much everything because by this point I was more used to zbrush and its interface.
I started to get some ideas of the type if materials I wanted for each part of the clothing but because I really wanted to go into detail I had to look for close up references of stuff like the type of stitching and seams I wanted to go for. I found that a good place to look for this kind if references where clothing shops online where you can not only see every angle, but you can also zoom in when you place the mouse over (pretty much I used YesStyle).
For the top vest I wanted it to be all leather with some 'cushion' parts on the sides. The logo I've been using to 'brand' my project is an eagle-type logo which I want to include somehow in the clothing so I'll probably put it as a decorative symbol in the back.
Something I realised I didn't took in consideration when I originally drew the design was "how is he going to take the best off?". Not that he will, but part of the topics I wanted to touch on my essay was the believability so I couldn't let this little details pass by. I had to add an extra feature on the front where he could tide it up. Didn't go for a zipper because of the style I wanted to achieve so I used laces as if it was a corsette.
Things that I never thought I've be looking up such as types of stitching for different kind of materials certainly became a priority. This only made me realise how little attention I've been paying to my surroundings.
At this point I also discovered a very easy technique to simulate cloth within Zbrush that I will probably be using for the baggy shirt. Also the boots required a bit of attention as the integration of parts of metal weren't so common to find in other items.
I thought that adding the details was going to be laborious and repetitive, but luckily is incredibly easy to work out how to create stencils, brushes and alphas that can convert the stylus into a sewing matching :)
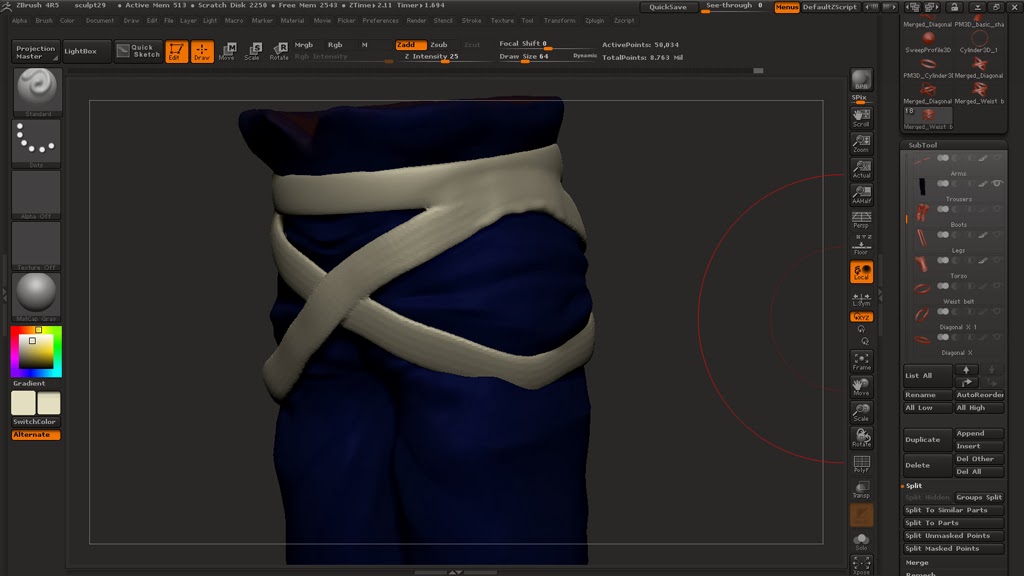
These are some screen shots of the details on most of the clothing. The next process will be retopologyising everything (probably everything in one single mesh). Hopefully the details will look good on the normal maps.


This is the detail on the back of the vest. I'm planning to use that 'eagle' as the logo of my project.


These are some screen shots of the details on most of the clothing. The next process will be retopologyising everything (probably everything in one single mesh). Hopefully the details will look good on the normal maps.
Vest:
Straps: (I had to retopologised them early on to get the sharp edges).
Gloves: I added some extra details that weren't on the original concept
Shirt:
Boots: I didn't like the original concept at, so before I took it to any details I ended up changing them pretty much entirely.
This is the detail on the back of the vest. I'm planning to use that 'eagle' as the logo of my project.
These are not final colours, it was just to block out the groups and get a rough idea. Polypaint is not something I planned to do as I'll be working manually on the textures after the UV's have been made.
No comments:
Post a Comment